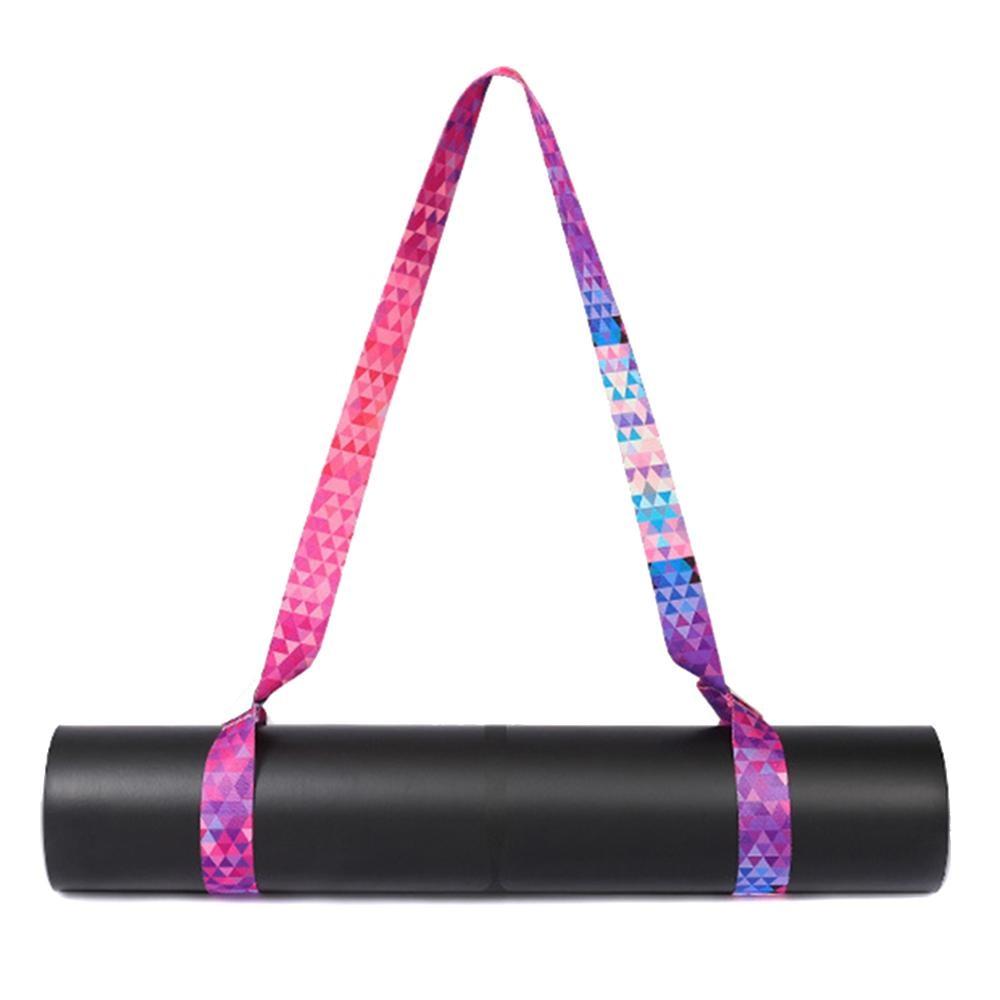
How to make a yoga mat? Yoga is a practice that has been around for centuries and is known for its physical, mental, and spiritual benefits. A key component of practicing yoga is having the right equipment, and one of the most essential items is a yoga mat. While there are many different types of yoga mats available for purchase, making your own can be a cost-effective and rewarding project. In this article, we will discuss how to make your own yoga mat, including the materials and steps required.
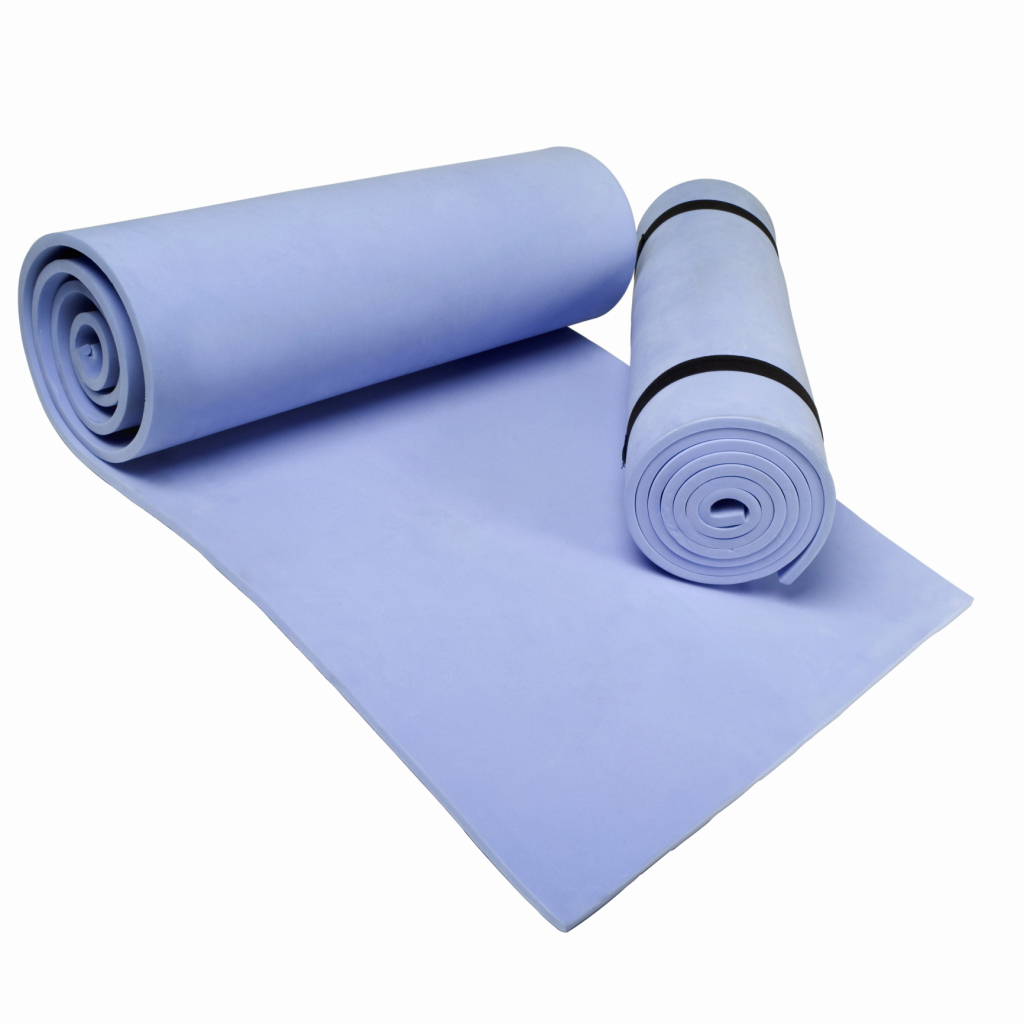
Materials Needed
Before we begin making the yoga mat, it’s important to gather all the necessary materials. You will need the following items:
- Natural rubber or PVC foam material
- Fabric for the upper surface (cotton, jute, or other durable material)
- Fabric for the bottom surface (non-slip material)
- Fabric glue
- Scissors
- Marker
- Ruler
- Sewing machine (optional)
- Non-toxic dye (optional)
Choosing the Right Materials
When selecting the materials for your yoga mat, it’s essential to choose high-quality and non-toxic materials. Natural rubber or PVC foam are popular choices for the mat’s base, as they provide cushioning and durability. For the upper surface, consider using natural materials such as cotton or jute for a comfortable and eco-friendly option. The bottom surface should be made from a non-slip material to ensure that the mat stays in place during yoga practice.
Cutting the Materials to Size
The first step in making a yoga mat is to cut the base material to size. Using a marker and ruler, measure and mark the desired dimensions on the foam material. The standard size for a yoga mat is 24 inches by 68 inches, but you can adjust the dimensions to your own preference. Once marked, carefully cut the foam material using scissors, ensuring that the edges are straight and even.
Creating the Upper Surface
Next, it’s time to create the upper surface of the yoga mats. Take your chosen fabric and cut it to the same dimensions as the foam material. If you want to add a personal touch to your yoga mats, you can use non-toxic dye to add a design or pattern to the fabric. Allow the fabric to dry completely before moving on to the next step.
Assembling the Yoga Mat
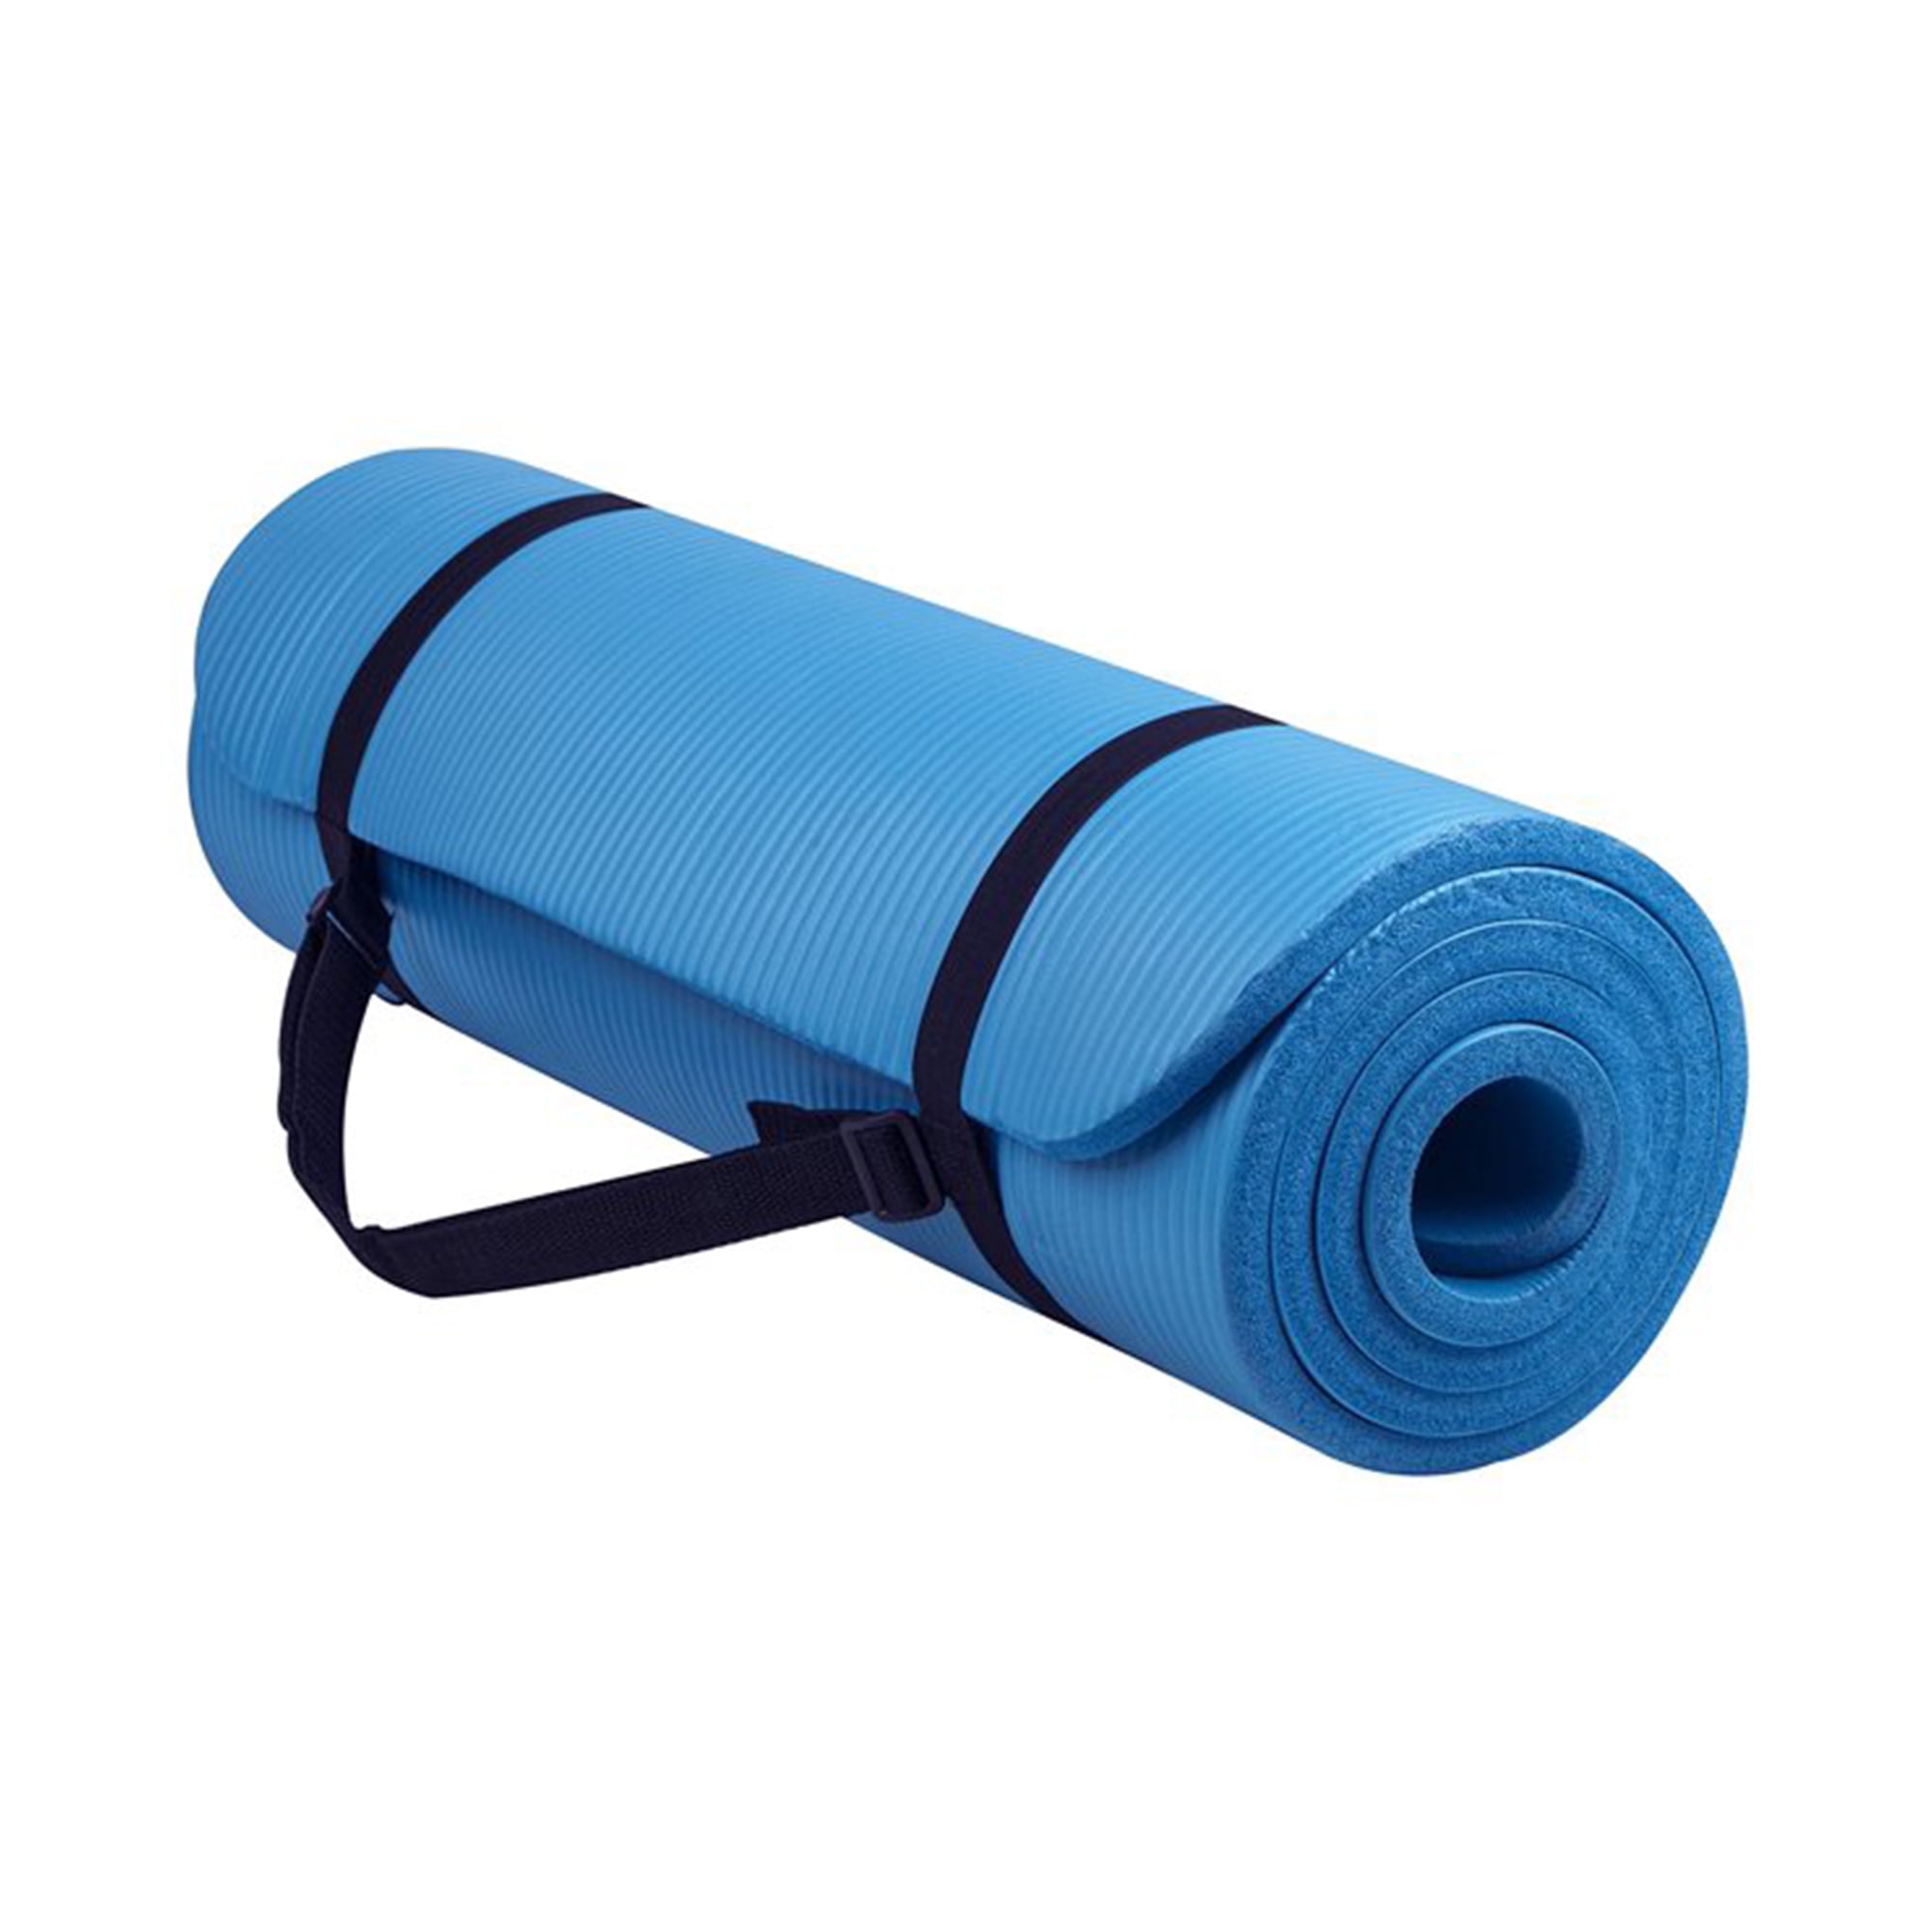
Once the upper surface fabric is ready, lay it flat on a clean surface with the pattern facing down. Apply fabric glue evenly to the entire surface of the fabric, making sure to reach the edges. Carefully place the foam material on top of the fabric, ensuring that all edges are aligned. Use a rolling pin or other flat object to press down on the foam material, ensuring a firm bond with the fabric.
Adding the Bottom Surface
To complete the yoga mat, it’s important to add a non-slip surface to the bottom of the mat. Cut the non-slip fabric to the same dimensions as the foam material and glue it to the bottom surface. This will help ensure that the mat stays in place during yoga practice and provides added stability.
Optional Sewing
If you have access to a sewing machine, you can sew the edges of the yoga mats to ensure a clean and professional finish. Using a zig-zag stitch, carefully sew around the edges of the mat to secure the fabric and non-slip material in place. This step is optional but can provide added durability to the yoga mat.
How to clean a yoga mat
Yoga is a wonderful practice that can benefit both the body and the mind. However, after regular use, your yoga mat can accumulate sweat, dirt, and bacteria, rendering it unhygienic and unpleasant to use. Therefore, it is important to regularly clean your yoga mat to maintain its quality and ensure a clean, healthy practice.
Daily Maintenance
Daily maintenance is essential to keep your yoga mat clean and free from buildup. After each use, take a moment to wipe down your mat with a damp cloth or a spray bottle filled with a mixture of water and gentle, natural soap. This will help to remove sweat, oils, and dirt accumulated during your practice. Additionally, it is a good idea to hang your mat to dry after each use to prevent the growth of bacteria and mildew.
For those who prefer a more convenient option, there are also specialized yoga mat wipes available on the market that are designed to quickly and easily clean your mat after each use. These wipes are usually infused with natural cleaning agents and essential oils that can help to disinfect and freshen your mat.
Deep Cleaning
While daily maintenance is important, it is also necessary to deep clean your yoga mat on a regular basis to remove tough stains, odors, and bacteria. There are several effective methods for deep cleaning your mats, and we will explore some of the most popular options below.
Vinegar Solution
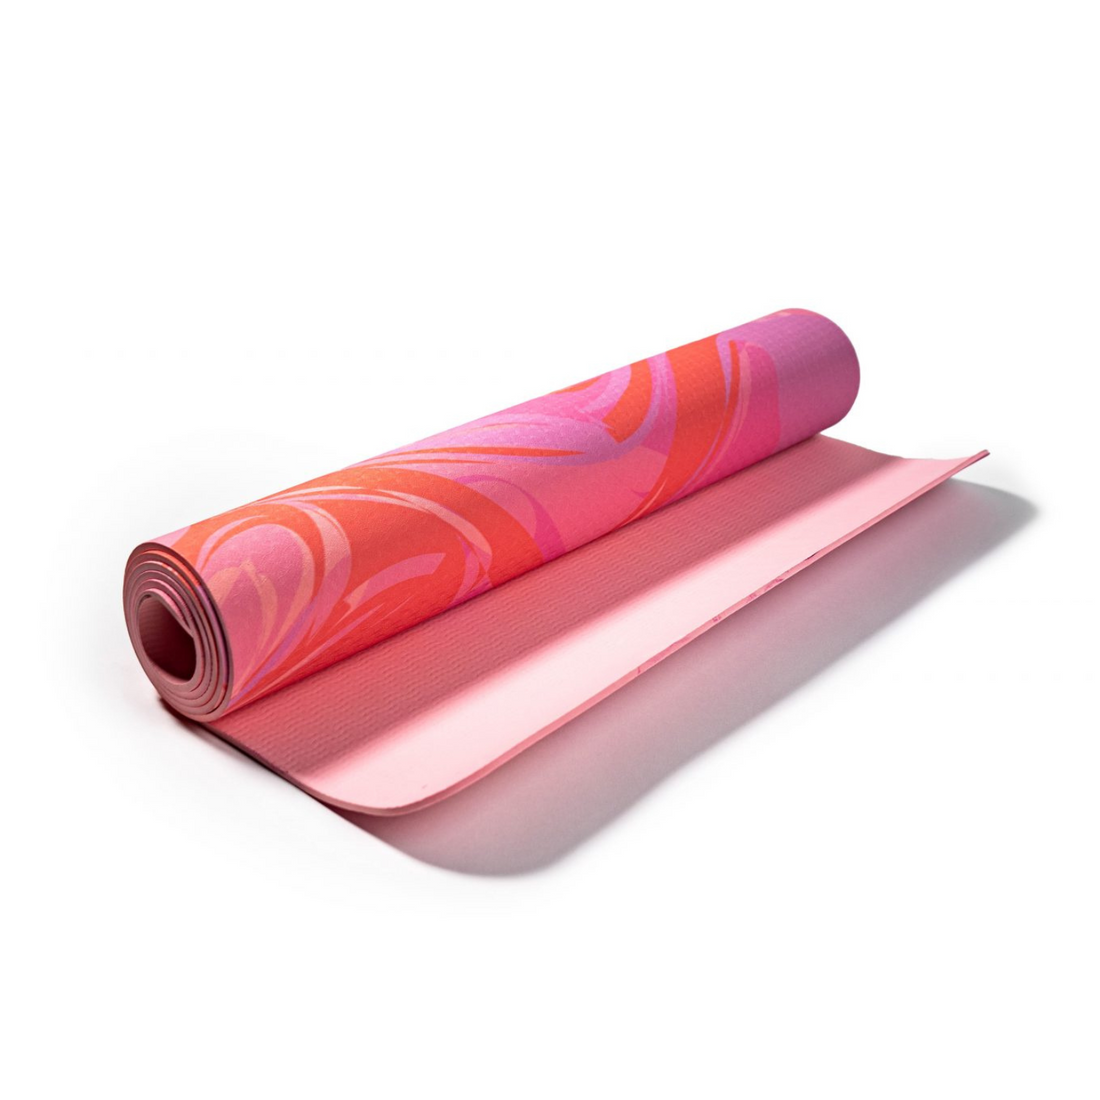
Vinegar is a natural and effective cleaner that can be used to disinfect and deodorize your yoga mats. To create a vinegar solution, mix equal parts of water and white vinegar in a spray bottle. Once you have your solution ready, follow these steps:
- Lay your yoga mat out flat on a clean surface.
- Spray the vinegar solution generously over the surface of the mat.
- Use a clean cloth or sponge to scrub the mat, paying extra attention to any stained or soiled areas.
- Allow the mat to air dry completely before rolling it up for storage or use.
Baking Soda Paste
Baking soda is a gentle abrasive that can help to lift tough stains and odors from your yoga mat. To create a baking soda paste, mix a small amount of baking soda with water until it forms a thick, spreadable paste. Follow these steps to clean your mat using the baking soda paste:
- Apply the baking soda paste to any stained or soiled areas on your yoga mat.
- Use a soft-bristled brush or sponge to gently scrub the paste into the mat.
- Allow the paste to sit on the mat for 10-15 minutes to allow it to lift the stains and odors.
- Rinse the mat thoroughly with water to remove the baking soda paste.
- Hang the mat to dry completely before storing or using it again.
Commercial Yoga Mat Cleaner
There are numerous commercial yoga mats cleaners available on the market that are specifically formulated to clean and maintain yoga mats. These cleaners often contain natural ingredients such as essential oils and plant-based surfactants that can effectively clean and refresh your mat. To use a commercial yoga mat cleaner, simply follow the instructions provided on the packaging.
Maintaining a clean yoga mat is essential for a healthy and enjoyable practice. Regularly cleaning your mat using the methods outlined in this guide will help to extend its lifespan and ensure that you have a clean and hygienic surface for your practice.
Conclusion
Making your own yoga mats can be a fun and rewarding project that allows you to customize the mat to your own preferences. By choosing high-quality materials and following the steps outlined in this article, you can create a yoga mat that is both comfortable and durable. Whether you’re a seasoned yogi or just starting out, having a personalized yoga mats can enhance your practice and provide a sense of ownership. So, why not give it a try and make your own yoga mat today?
